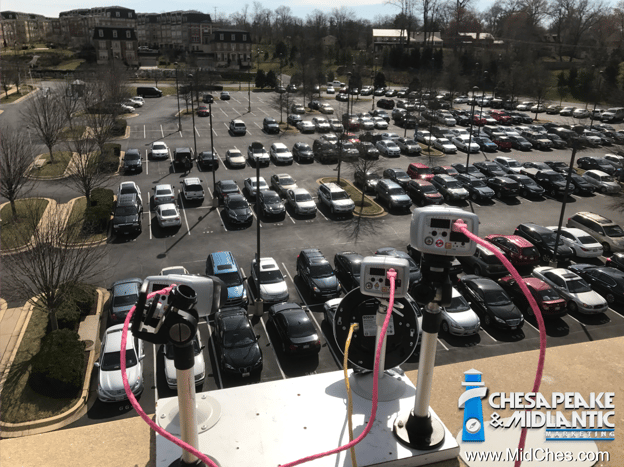
Capturing meaningful video surveillance in a parking lot situation can be a challenge...especially without a demonstration ahead of time.
First, and most important, is setting system performance expectations for all stakeholders.
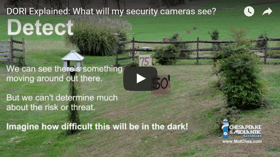 What level of detail will be captured and at what distance from the camera(s)?
- What size image is to be captured as evidence? License plate vs. human face vs vehicle model?
- What type of activity is to be observed in the area?
- How fast will targets be moving through the scene?
- Will entrances and exits be captured differently than parking areas or travel lanes? (more on license plate capture details here)
- What is the lighting in the area at night?
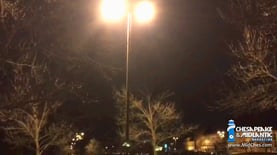 If cameras are being mounted to light poles, what must be considered as far as power requirements and data transmission? (more on this situation here)
- What is the difference in the needs of the officers on duty watching the parking area versus the needs of investigators if an unauthorized behavior occurs and needs to be investigated?
If you're not familiar with the acronym, DORI, this is a common application where it comes into play. DORI is a standard that helps specifiers, end users, and security installers determine the perfect camera resolution, lensing, and lighting combination required to capture critical surveillance footage. Learn about DORI here.
Next, a Proof of Concept demonstration is in order. This is where the expectations are really put to the test.
So, Steve Pennington hit the road to help a security team explore the best option for their application.
Steve and the entire MidChes team takes this part of the design process to the limit. Our goal is to show various imaging options in order to allow the end user and stakeholders to see how the different technologies perform in relation to their DORI performance requirements in your environment.
This means that we don't set up the cameras on your desk and ask you to "imagine" how this is going to work. We take the gear to your roof, out to your fence, or inside your hallways to see first-hand how the system is going to perform.
For example, a 1080p camera may work fine at short range, however a 5 megapixel camera may actually be required to capture enough detail at long range. Also, will a pan-tilt-zoom camera be appropriate for the application versus a fixed camera? Many factors go into this equipment selection.
In the demonstration image below, you can see both fixed and pan-tilt-zoom cameras as well as a panoramic camera.
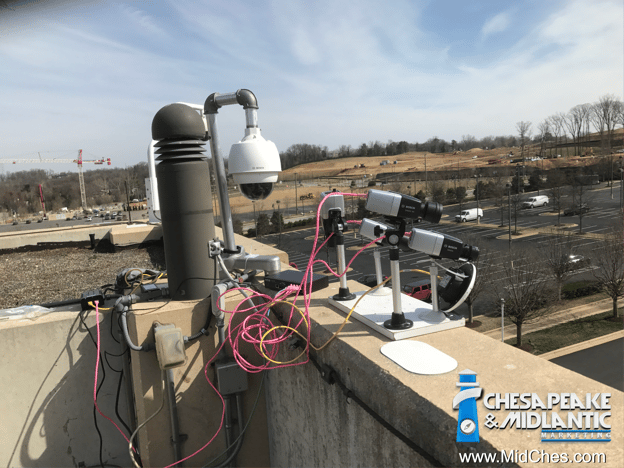
Aside from proper imaging requirements, this part of the decision making journey often uncovers the need to add or remove cameras from the plan based on performance. Adding cameras can prevent missing important information when it counts. Removing cameras can mean saving money.
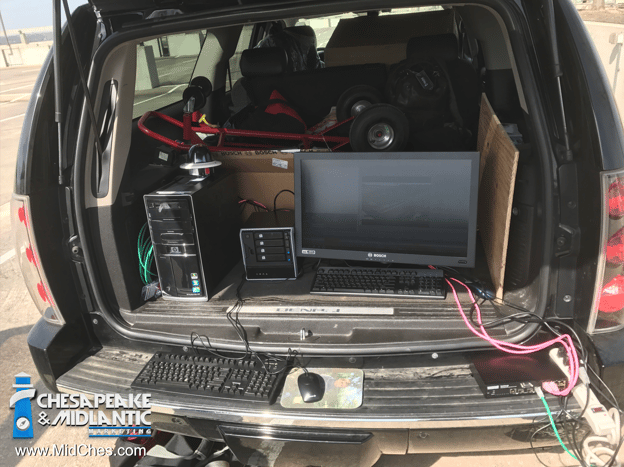
All of the cameras on the roof, in this example, are connected to a local network switch which is networked temporarily to another network switch at ground level. Here, as shown below, is where the cameras can safely be observed by security staff and additional stakeholders.
The quick demonstration deployment and thorough evaluation of the technologies available help security staff feel confident that they will be deploying exactly what's needed to meet their expectations. IT staff can participate in the demonstration to better understand what bit rates and storage requirements to expect. Human Resources and other administrative staff can see first-hand what is reasonable to expect from the system if they need to ask security for footage of a situation.
Learn more about Proof of Concept demonstrations
Learn more about Try Before You Buy programs
Contact our team to schedule a demonstration

